
If you want to know about an easy dessert recipe that balances your craving for something sweet anytime, I’ll always suggest making a two-layered milk pudding. You only need five ingredients for a ‘two-layered milk pudding recipe’. Yes, you’re hearing me right!
In this article, we’ll share the step-by-step process of making two-layered milk pudding and share some tips and tricks that will help you avoid common mistakes during cooking.
Ready to explore something exciting?
What Is Two-Layered Milk Pudding?
Two-layered milk Pudding is a delicious dessert with two distinct layers. Although there can be different flavor colors, they usually consist of vanilla and chocolate.
The contrasting layers create a beautiful and delicious treat. Popular in many parts of Asia and the Middle East, this pudding is praised worldwide for its smooth texture and rich taste. You can easily serve it at family gatherings, festive occasions, and special events.
How to Make Two-Layered Milk Pudding
To make a layered Milk Pudding, mix ⅓ cup of water with 2 tablespoons of agar agar powder and set aside for 10 minutes. Heat 3 cups of full cream milk in a pan and add 1 teaspoon of vanilla powder, stirring until it boils.
Add the agar mixture and cook until thickened, then pour half into a mold and let it cool. Add 2 tablespoons of cocoa powder to the remaining milk mixture, whisking well to avoid lumps, and cook until thickened. Pour this over the set vanilla layer and refrigerate for 2 hours.
Remove the pudding from the mold and slice it to serve.
Two-Layered Milk Pudding Recipe
Servings: 5, Prep Time: 10 minutes, Cook Time: As per need, Course: Dessert Cuisine: Asian, Chinese
Ingredients
- Water: ⅓ cup
- Agar agar powder: 2 tablespoons
- Full cream milk: 3 cups
- Sugar: ½ cup
- Vanilla powder (or vanilla essence): 1 teaspoon
- Cocoa powder: 2 tablespoons
Directions
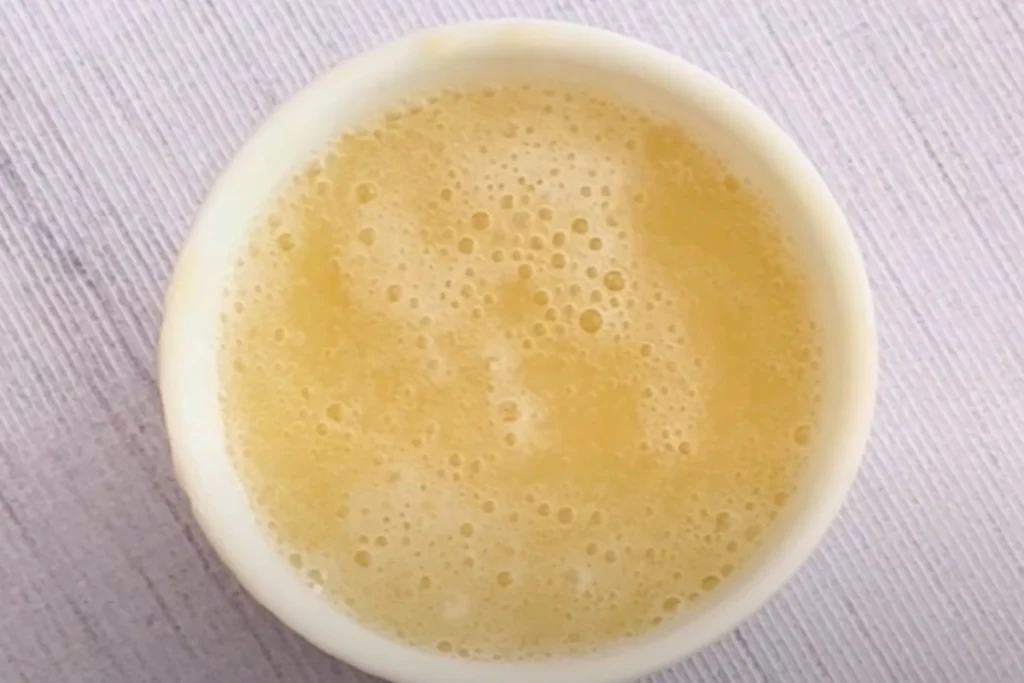
Let’s start by making agar agar mixture:
- Take ⅓ cup of water and 2 tablespoons of agar agar powder in a small bowl. Then, use a spoon to mix the ingredients well and keep it aside for 10 minutes. We will use it later in the cooking. Agar agar mixture will make sure that our pudding isn’t runny and we get the desired consistency.
Cooking Time!
- Place a pan on the heat source and let it hot first. This time I’m going to pour 3 cups of full cream milk into the pan. Thicker milk skin will give you a more flavourful outcome. And, you’ll get this thick layer because of the milk’s fat content. So, milk with a higher fat percentage yields a richer and creamier taste.
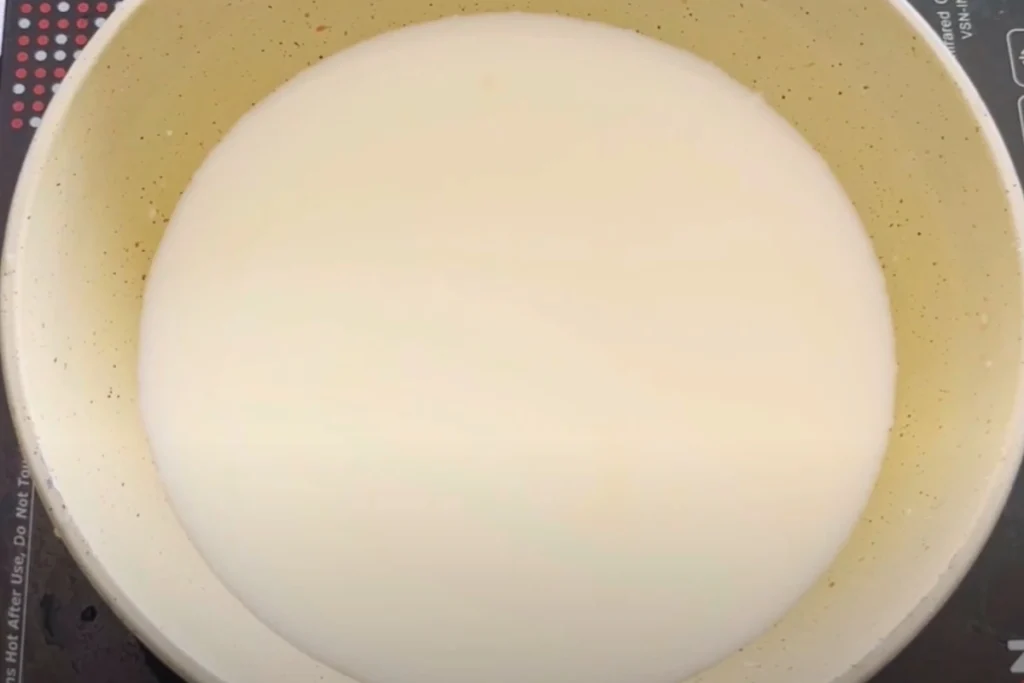
- Add ½ cup of sugar and 1 teaspoon of vanilla powder to the milk. You can use vanilla essence instead. The goal is to get the vanilla flavour that adds a sweet, aromatic note that complements the creamy texture of your pudding. Mix the powder with the milk and bring it to a boil.
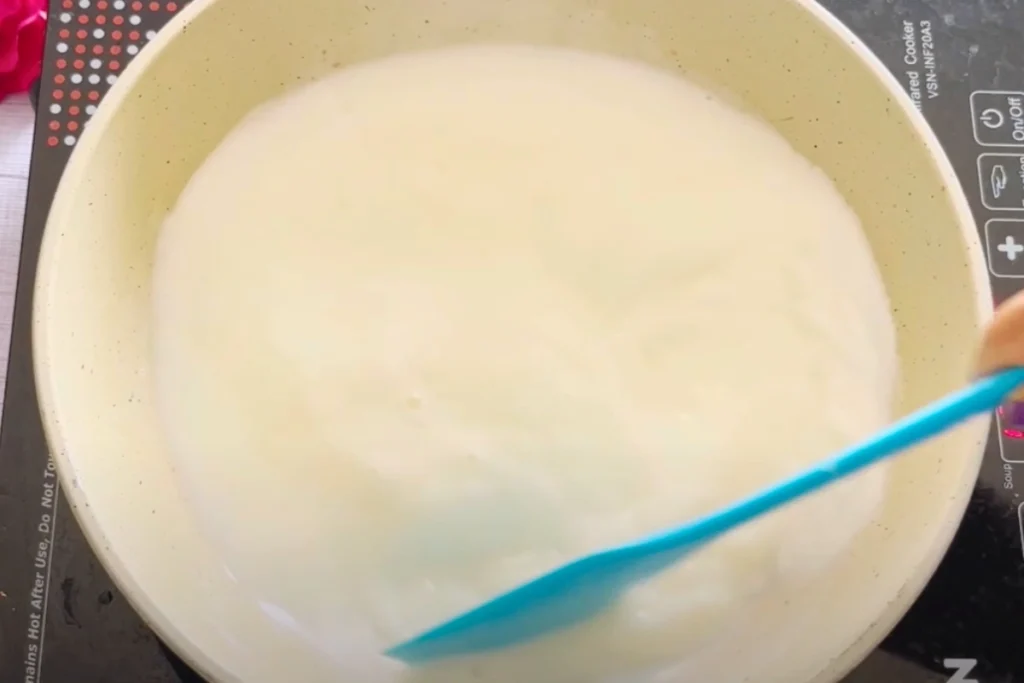
- Keep stirring while boiling the milk. Add the agar agar powder mixture you prepared earlier. Mix again and continue cooking it until thickened.
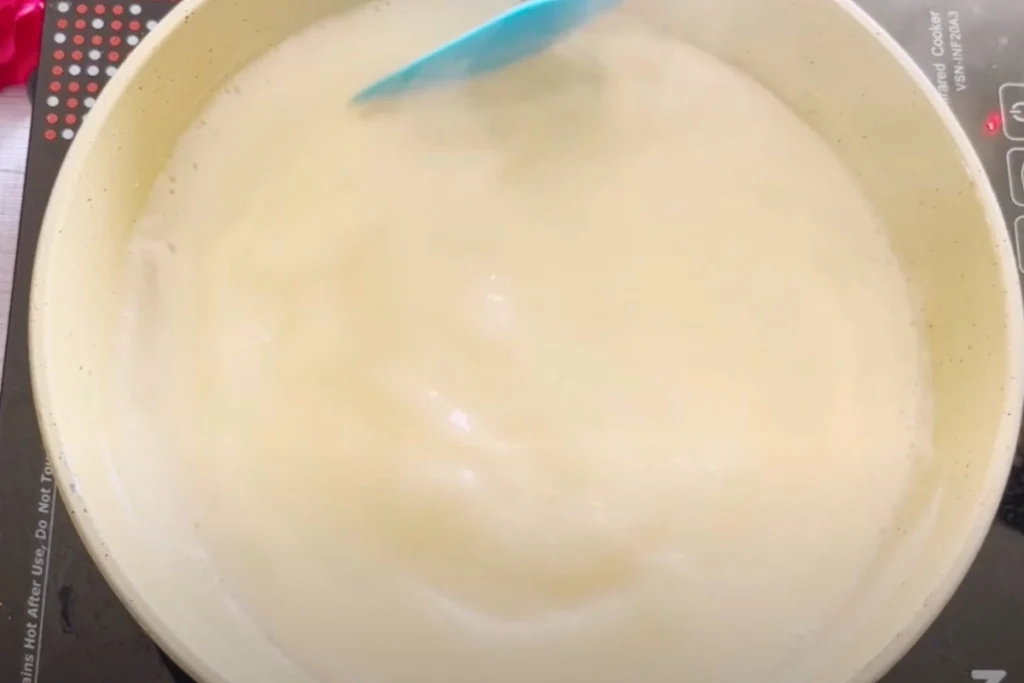
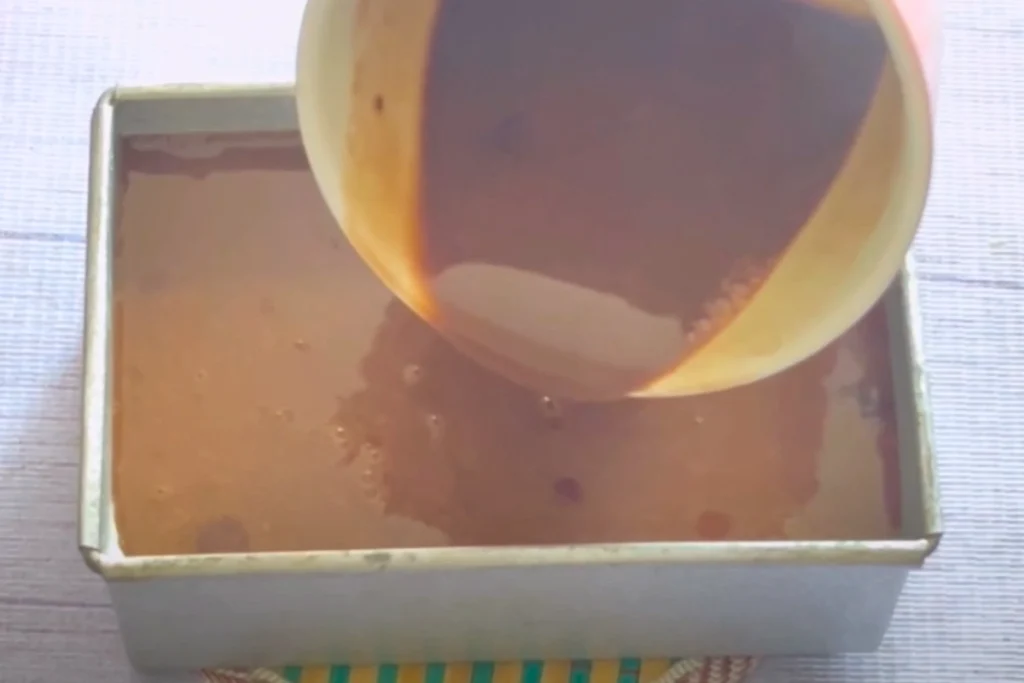
- Turn off the heat source once the milk gets thickened and remove the pan. Now, carefully pour half of the milk mixture into a mold.
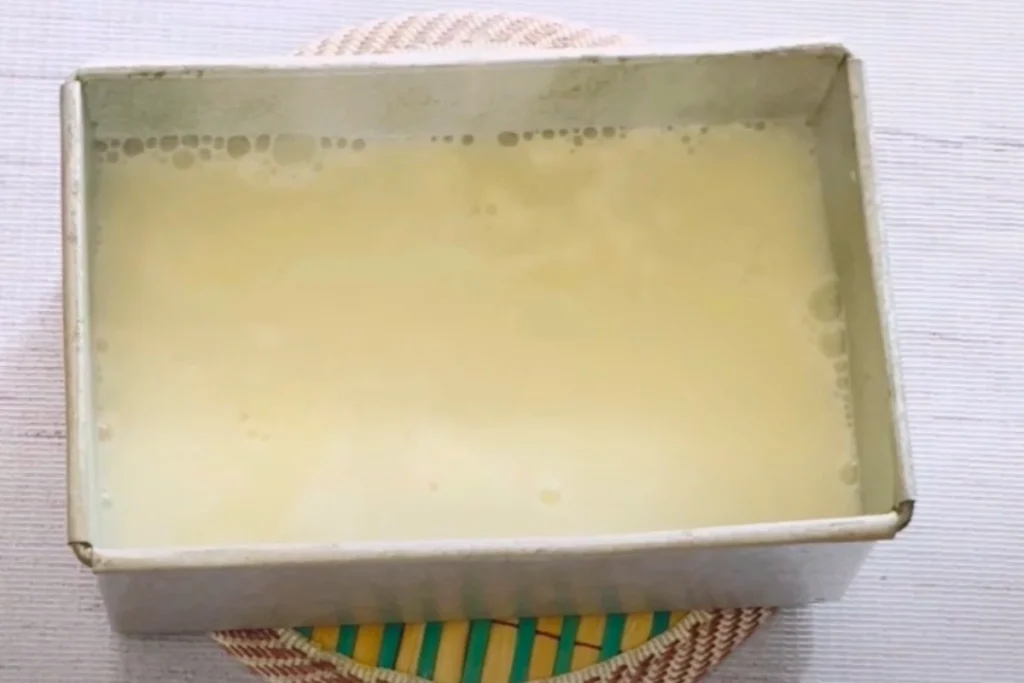
- When the milk gets cooled completely, you can keep it in the refrigerator to let it set. Meanwhile, we’ll prepare the remaining half of the milk for our pudding, okay?
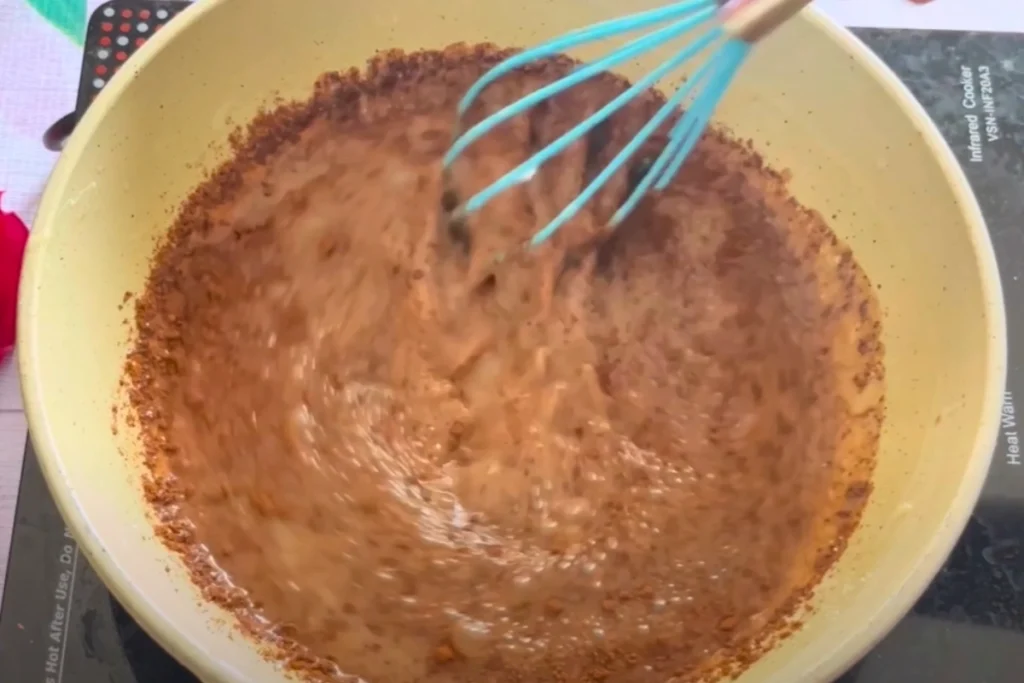
- Add 2 tablespoons of cocoa powder to the remaining milk mixture. Then, whisk the ingredients and mix them well. Try to mix the cocoa powder evenly so there are no lumps remaining. If you don’t dissolve the lumps properly, there will be pockets of dry cocoa powder in the otherwise smooth pudding.
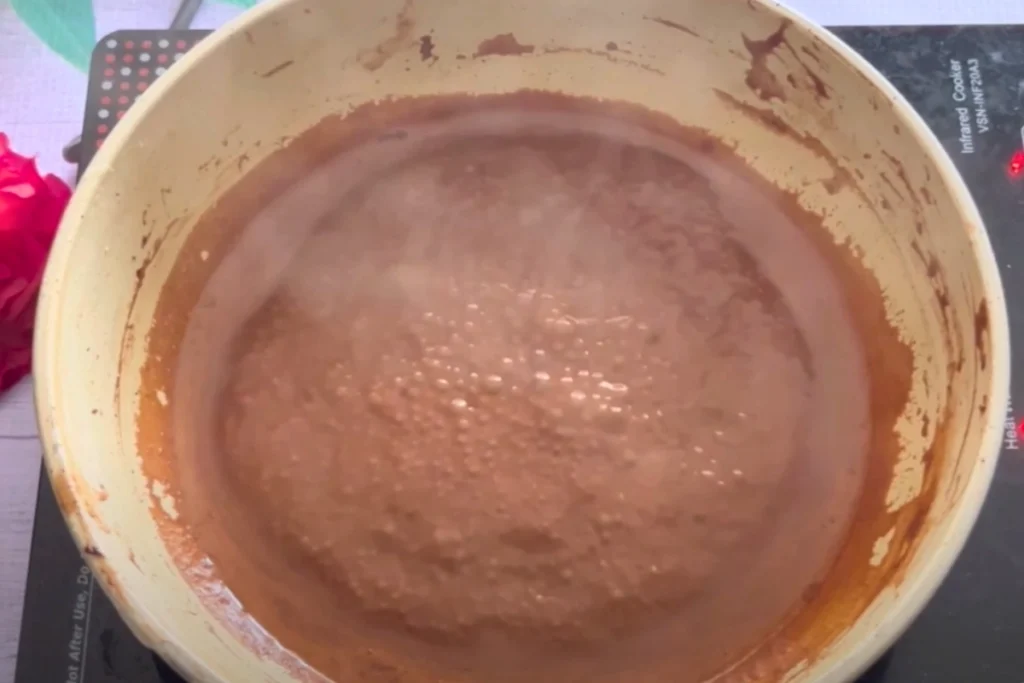
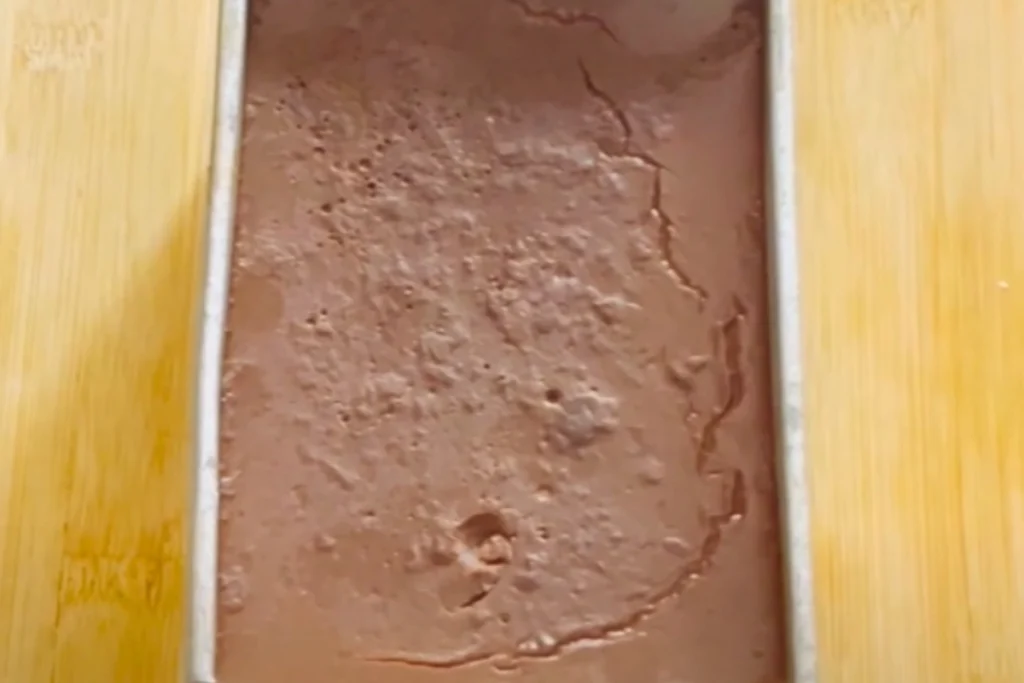
- Once you’re done mixing the ingredients, cook them until thickened. I use a spatula to stir the mixture every now and then to avoid burning. It always gives me smooth consistency. You’ll try to get a thick consistency as in the picture below, okay?
- Remove the milk pudding from the refrigerator after 30 minutes of waiting.
- Our next step is to pour the chocolate milk texture (we just prepared) onto the milk pudding. Wait for some time and cool it completely.
- Finally, keep the pudding in the refrigerator for 2 hours.
Let’s serve the mouthwatering dessert:
- After 2 hours, our 2-layered pudding is completely set.
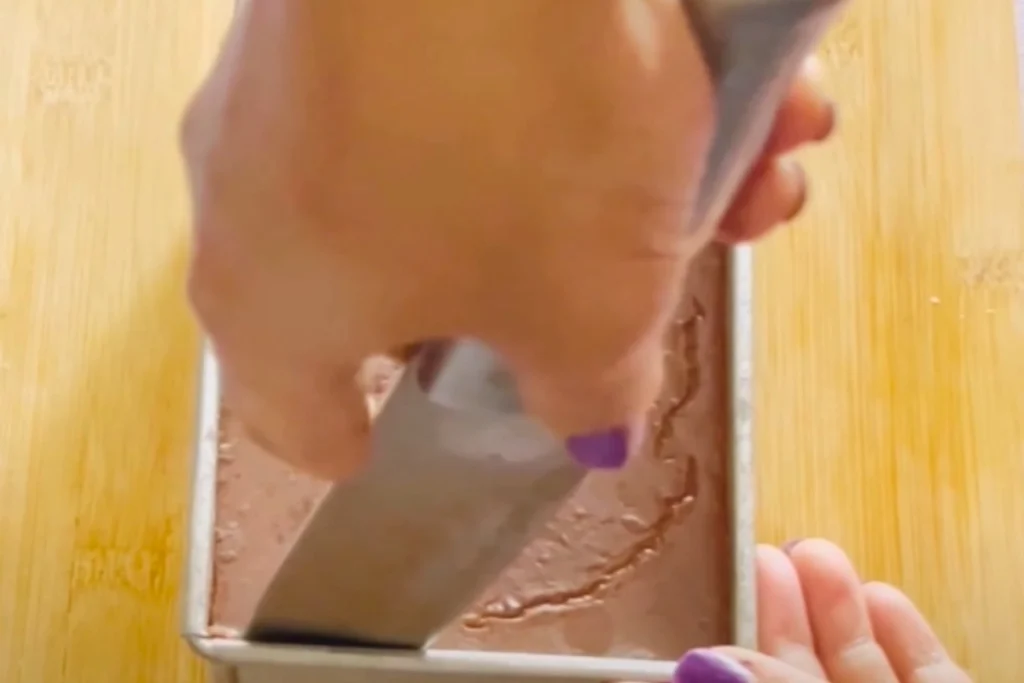
- Let’s run a knife around the edges of the mold. It will help loosen the pudding from the sides without any mess-ups.
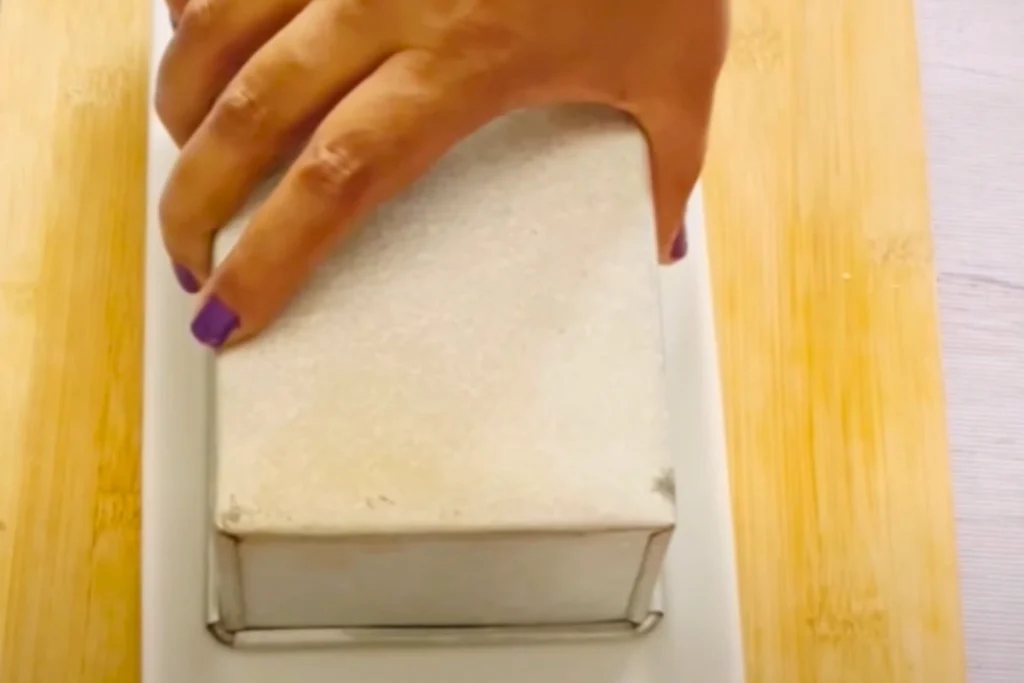
- This time, you’ll lift the pudding. Place a serving plate or tray over the top of the mold. Hold the plate and the mold securely together and flip the mold upside down. Follow the picture below. It always works like magic to prevent the pudding from breaking apart.
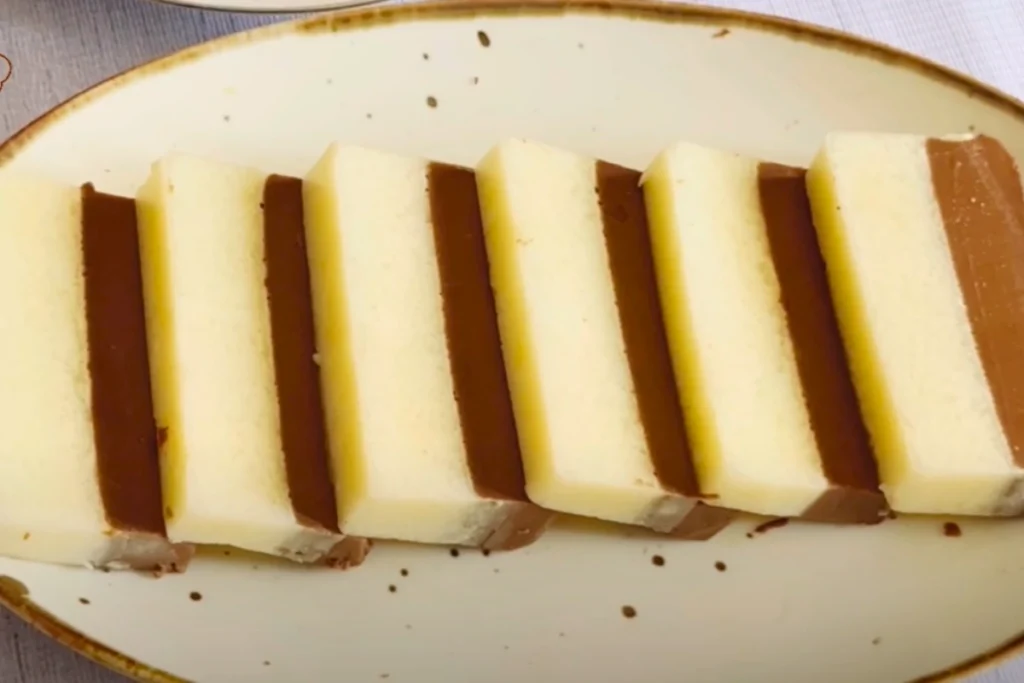
- When the pudding is released and perfectly set on the plate, cut it into slices using a knife.
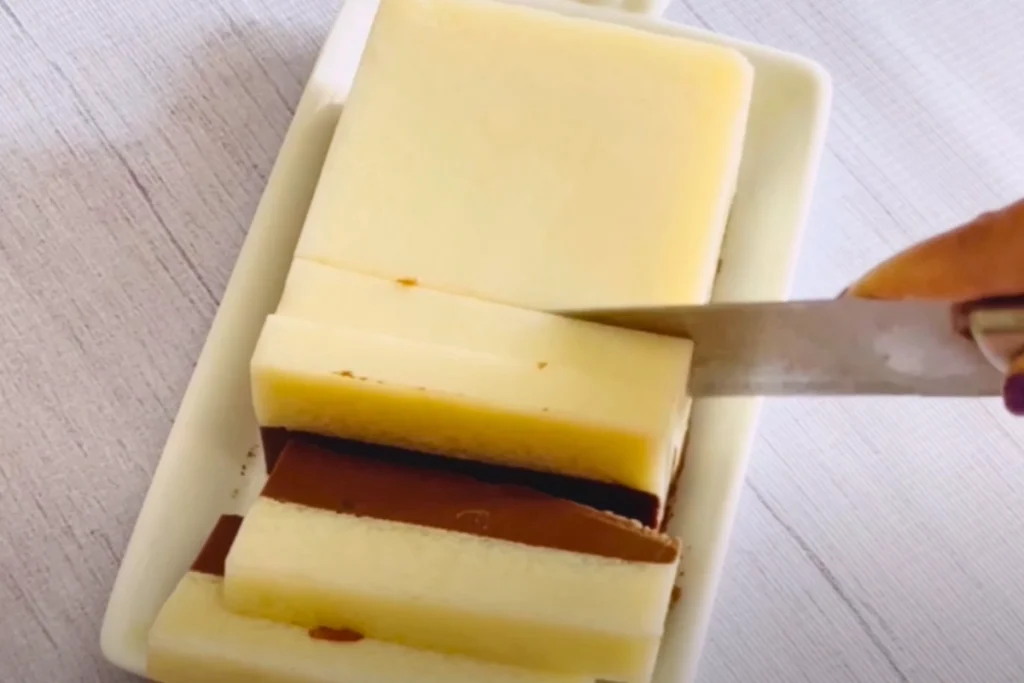
There you have it! Enjoy the yummy and tasty two-layered milk and chocolate pudding! You can serve it warm or cold according to your preference. I love chilled pudding on summer days.
What to Serve With Two-Layered Milk Pudding
Fresh berries or a mixed salad can be a refreshing addition to a slice of two-layered milk protein. I feel extra happy when I drizzle chocolate sauce or caramel over the pudding slices, but you can skip it if you’re on a ‘cut-down-sugar’ mission. You can also serve it with wafer cookies for a crunchy addition.
Chef’s Tips
- After preparing the first layer of the pudding, you must cool it completely to avoid mixing and ensure distinct layers.
- Use low to medium heat to warm the milk and stir it continuously. This will prevent the formation of lumps at the bottom of the pot. Turn off the heat when small bubbles start to appear around the edges.
- Cook until the mixtures get enough thickness. The too-runny mixture causes poorly set pudding.